Description
Overview
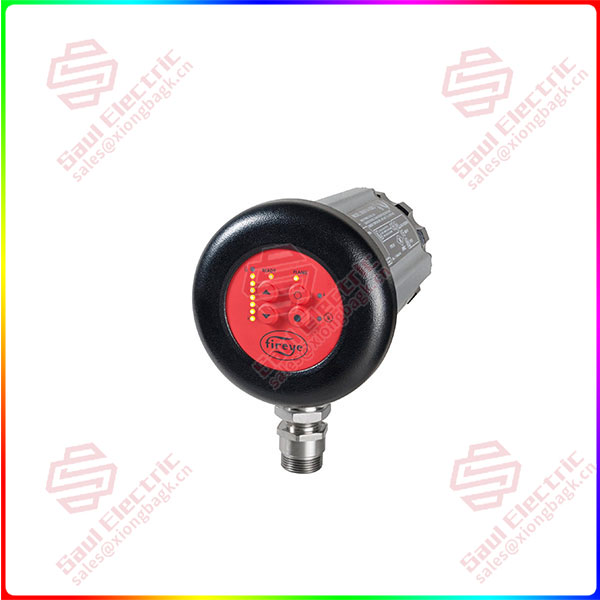
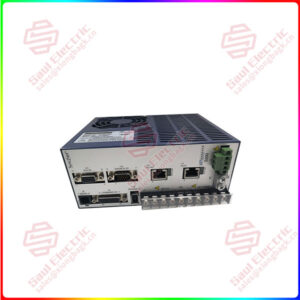
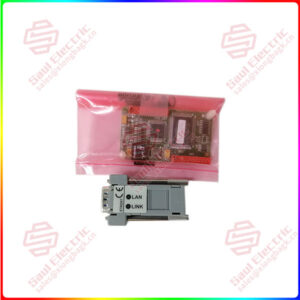
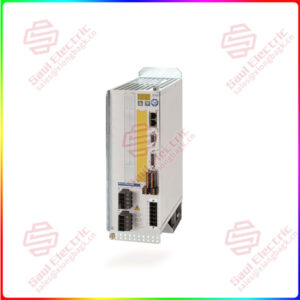
Essential details:85UVF1A-1QD Fireye Phoenix Series 2 type 85UVF/IRF flame scanners
lf you need to inquire or purchase ,please send the product models to my email or call medirectly .
sunny He
[Email] sales@saulcontrol.com
[Mobile] 86-18059884797
[WhatsApp] 86-18059884797
[Skype] sales@saulcontrol.com
85UVF1A-1QD Fireye Phoenix Series 2 type 85UVF/IRF flame scanners
Using the keypad the scanner flame failure response time can be set by the user to the desired timing.
Each unit comes from the factory preset at 1 second. To change the factory default to a different FFRT, see Set-Up Procedure below. To verify the current FFRT setting, press and hold the UP push button with the scanner in the normal operating mode. The “flame strength” LED set will display 1st , 2nd, 3rd, or 4th LED as appropriate and these correspond to the FFRT in seconds.
FFRT Set-Up Procedure
If the Flame Failure Response Time needs modifying, follow the procedure listed below. Press both the Target Flame Select and Background Flame Select buttons simultaneously. Use the up button to drive the LEDs until LED number [8] (pass code) is illuminated on the flame strength
LEDs right hand set.
Press both the Target Flame Select and Background Flame Select buttons simultaneously.
Press UP or DOWN push buttons to select required FFRT (the selected FFRT is displayed on the flame strength LEDs as either 1 st, 2nd, 3rd, or 4th). Once you have selected the correct value, Press both the Target Flame Select and Background Flame Select buttons simultaneously to store. The stored value can be displayed and checked at any time while in the normal run mode. Pressing and holding the UP pushbutton at any time will display the stored FFRT on the flame LEDs right hand set. Verify that the correct FFRT has been stored.
Commissioning the Scanner /Learning the Flame Condition
Step 1 – Enter the pass code
Press both the Target Flame Select and Background Flame Select buttons simultaneously. Use the up button to drive the LEDs until LED number [5] (pass code) is illuminated (if you pass the required point use the down button to correct). Press both the Target Flame Select and Background Flame Select buttons simultaneously.


 1 Year Warranty
